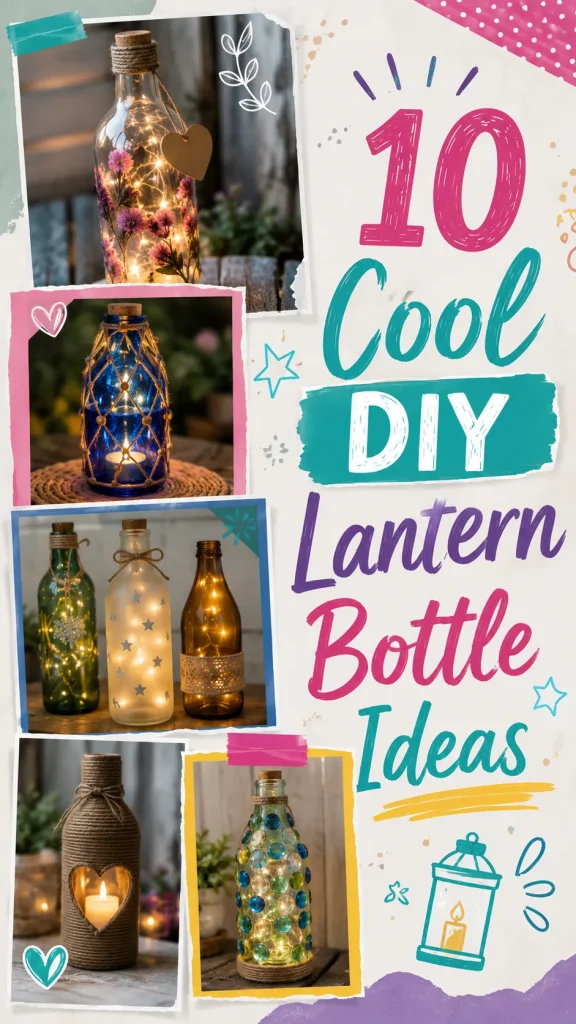
Transforming empty glass bottles into glowing lanterns is one of the most rewarding and versatile DIY projects you can tackle. Whether you are aiming for a romantic, firefly-inspired garden display or a sophisticated indoor accent piece, bottle lanterns offer an endless array of creative possibilities. By repurposing materials you already have on hand, you can create high-end decor that looks like it came straight from a designer catalog for pennies on the dollar.
These DIY bottle lantern ideas focus on simplicity, safety, and visual impact. From etched glass designs to whimsical wrapped aesthetics, each project is designed to be accessible, budget-friendly, and perfect for adding a touch of ambient light to any corner of your home or porch. Get ready to turn your recycling bin into a treasure trove of illumination.
1. Fairy Light Firefly Jar
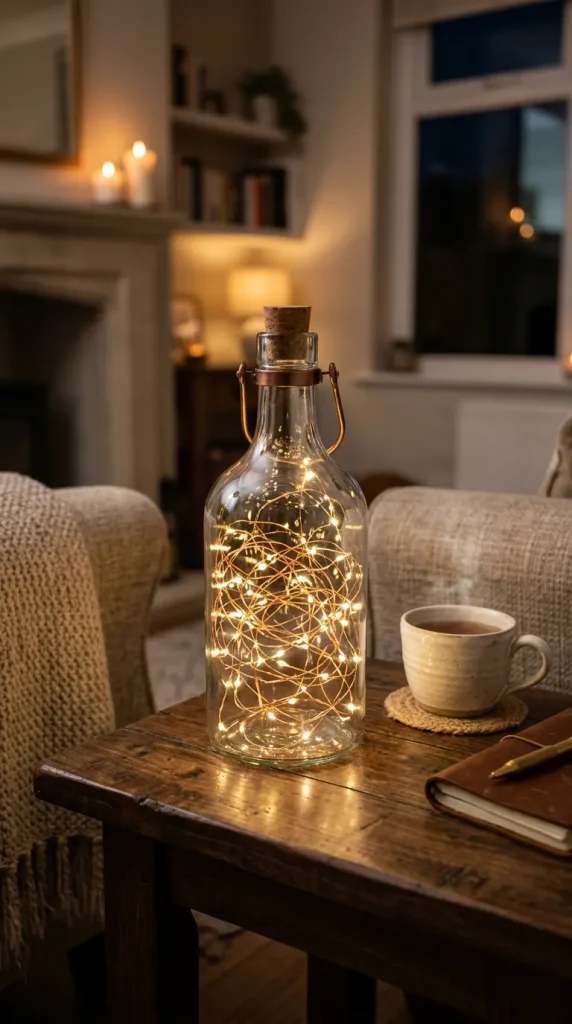
This is the quintessential bottle lantern, mimicking the magical glow of a warm summer night. By using a clear glass bottle and battery-operated copper wire fairy lights, you create a soft, ethereal light that is perfect for centerpieces or bedside tables.
How to Make
Start with a clean, clear glass bottle with the label removed. To remove labels effectively, soak the bottle in warm, soapy water and scrub away any residue. Once dry, feed a strand of thin, battery-operated copper fairy lights into the opening. Make sure the battery pack—often disguised as a cork—sits snugly in the neck. If you have a bottle with a wide enough neck, you can put the entire battery pack inside, but the “cork” style is much more polished. Turn it on, and enjoy the magical firefly effect.
Things Needed
- Clear glass bottle (cleaned)
- Battery-operated copper wire fairy lights (cork-style)
- Warm soapy water (for label removal)
- Goo Gone or rubbing alcohol (for stubborn residue)
2. Etched Glass Frost Lantern
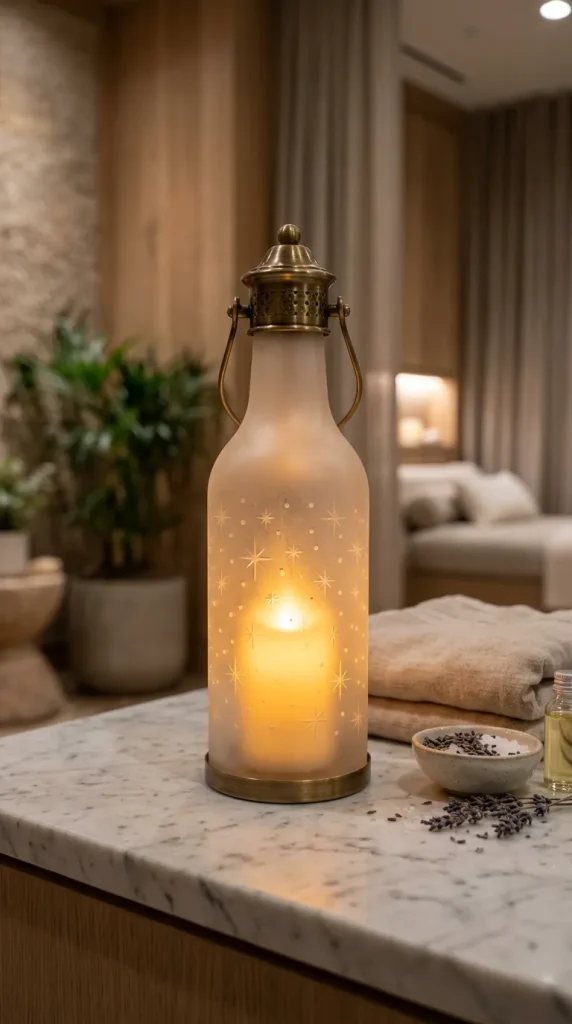
For a more sophisticated, opaque look, etched glass is a fantastic option. It softens the light significantly, creating a gentle, diffused glow that is perfect for a spa-like atmosphere in your bathroom or a cozy corner of your living room.
How to Make
Purchase a small jar of glass etching cream from a craft store. Clean your glass bottle thoroughly. Use painter’s tape or adhesive vinyl stencils to create a pattern—like stars, stripes, or geometric shapes—on the outside of the bottle. Apply the etching cream according to the manufacturer’s instructions, usually leaving it on for a few minutes. Rinse thoroughly, remove the tape, and you will have a beautiful, permanent frosted design. Place a bright LED tea light inside to showcase the pattern.
Things Needed
- Smooth glass bottle
- Glass etching cream
- Adhesive vinyl stencils or painter’s tape
- Rubber gloves (essential for safety)
- LED tea light
3. Painted Sea Glass Lantern
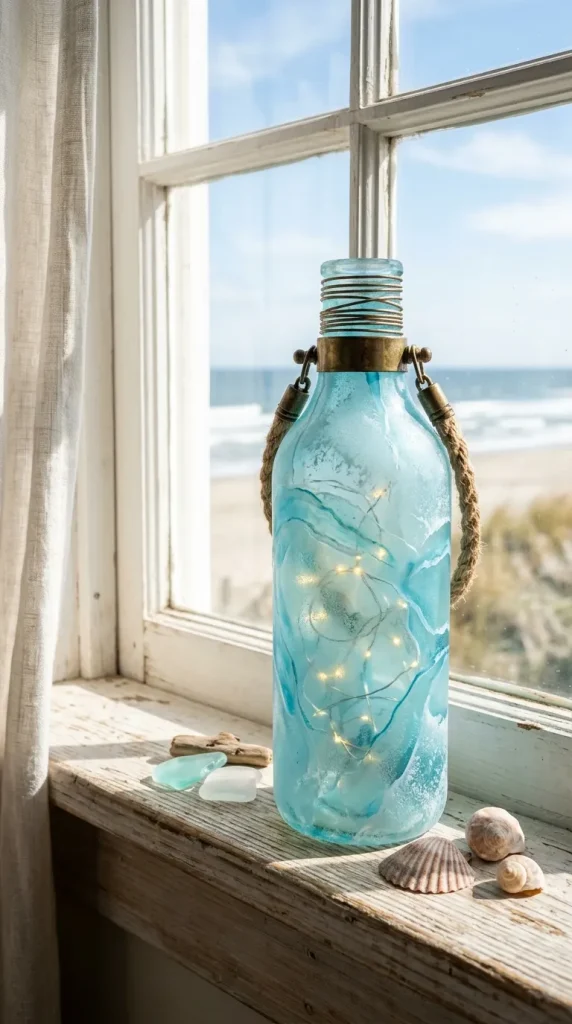
Bring the coastal, weathered look of sea glass into your home with this simple paint-and-glue technique. This style is perfect for those who love a beachy, airy aesthetic and want to add a pop of subtle color to their decor.
How to Make
Mix a small amount of white school glue with a few drops of food coloring or glass paint in a bowl. Paint the mixture onto the outside of your glass bottle using a foam brush. The texture will be slightly uneven, which is exactly what gives it that organic, sea-glass look. Once dry, the light will filter through the color in a soft, muted way. Tie a bit of jute twine around the neck for a nautical finish.
Things Needed
- Clear glass bottle
- White school glue
- Food coloring or glass paint
- Foam brush
- Jute twine
4. Macramé Wrap Lantern
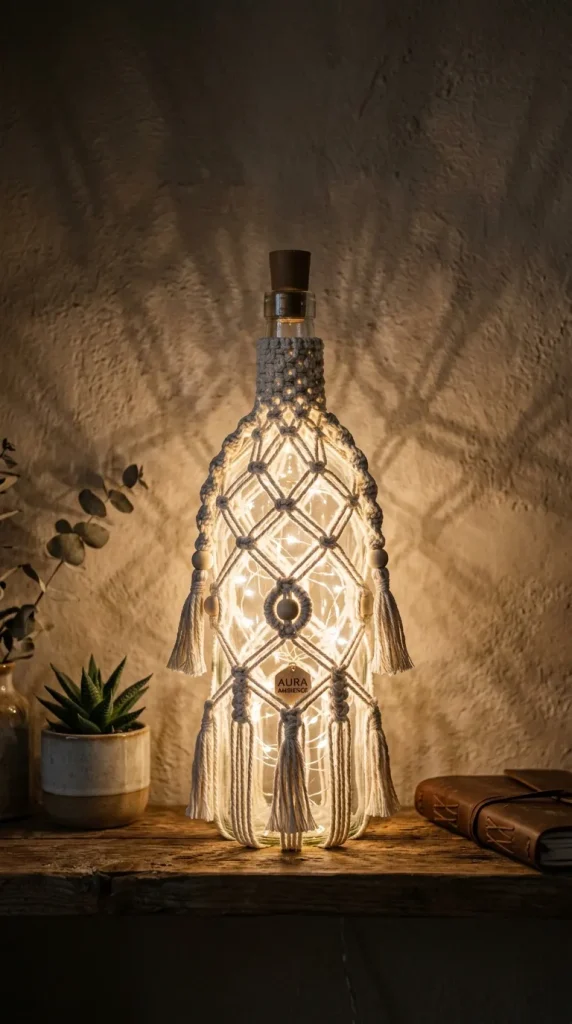
Macramé adds incredible texture and a bohemian vibe to any space. By wrapping a bottle in simple knots, you create a cage that looks beautiful even when the light inside is turned off.
How to Make
Use thin cotton cord to tie a simple “net” of square knots around your bottle. Start by tying cords around the neck of the bottle, then continue the square knot pattern all the way down to the base. You don’t need to be an expert; even a simple criss-cross grid pattern looks fantastic. Once the bottle is wrapped, place a strand of white LED lights inside. The light will peek through the gaps in the macramé, casting beautiful shadows on your walls.
Things Needed
- Glass bottle
- Thin cotton macramé cord
- White LED string lights
- Scissors
5. Glitter-Dusted Holiday Lantern
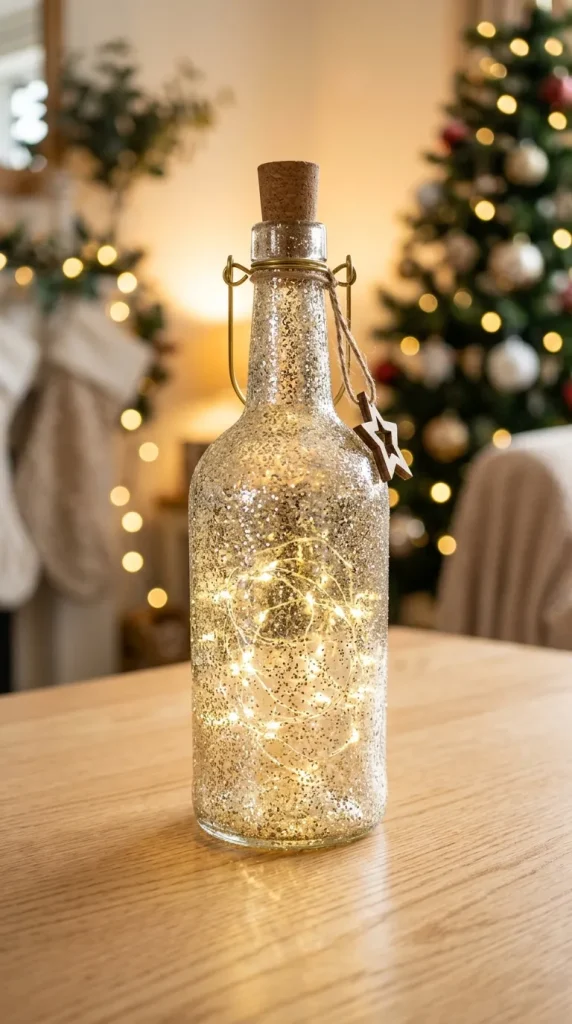
For a festive or celebratory look, nothing beats glitter. This project is ideal for holiday centerpieces or special event decor, providing a high-sparkle look that catches the light beautifully.
How to Make
Apply a thin, even coat of Mod Podge or spray adhesive to the exterior of the bottle. Roll the bottle in a tray of high-quality, fine glitter until it is completely coated. Let it dry completely, then gently tap off the excess. For a more subtle look, you can just do the bottom half. Use a bright, cool-toned LED light inside to make the glitter shimmer and pop, turning your bottle into a literal disco ball of light.
Things Needed
- Glass bottle
- Mod Podge or spray adhesive
- Fine glitter
- Bright white LED light
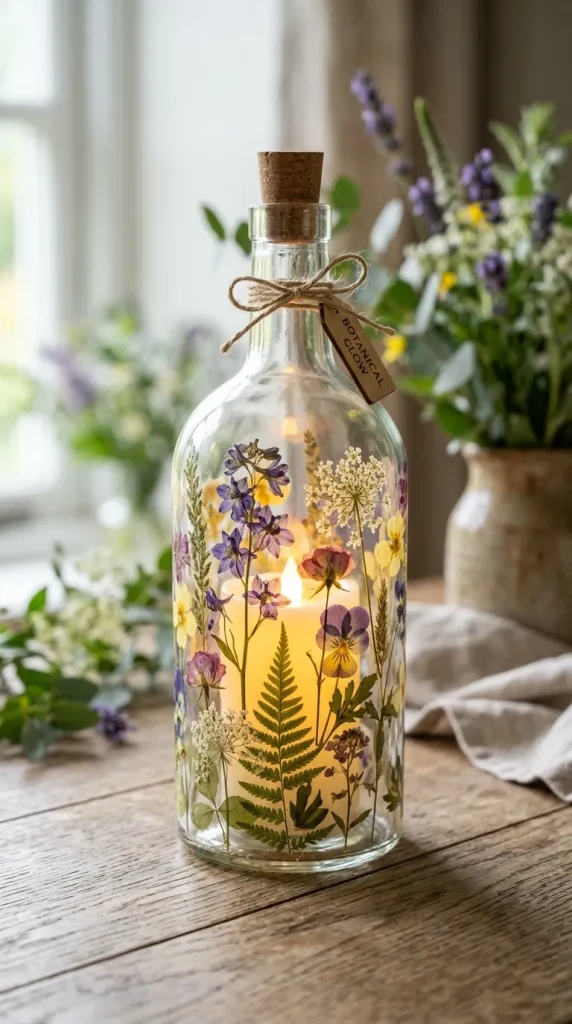
6. Pressed Flower Bottle Lantern
Preserve a piece of nature by decoupaging pressed flowers onto the exterior of your bottle. This creates a stunning, botanical look that feels very artisanal and romantic.
How to Make
Collect thin, flat flowers or leaves and press them in a heavy book for several days until they are dry and flat. Clean your bottle and apply a layer of Mod Podge. Carefully place the flowers onto the glass, then apply another thin layer of Mod Podge over the top to seal them. Once fully dry, place a single, high-output LED candle inside. The light will illuminate the delicate veins and colors of the flowers, making the bottle look like a botanical specimen.
Things Needed
- Glass bottle
- Pressed flowers or leaves
- Mod Podge
- Paintbrush
- High-output LED pillar candle

7. Salt-Texture Snow Lantern
Create a winter wonderland in your home with a salt-texture lantern. This project gives the glass a crunchy, snowy appearance that is incredibly beautiful when backlit.
How to Make
Coat the outside of your bottle with a thin layer of white school glue. Roll the bottle in a tray of coarse sea salt. Ensure the coverage is dense, covering every inch of the glass. Let it dry overnight. Once dry, you can spray a clear sealer over the salt to prevent it from flaking off. When lit from within with a warm-toned LED light, the salt creates a beautiful, sparkling glow that mimics the look of glistening snow.
Things Needed
- Glass bottle
- White school glue
- Coarse sea salt
- Clear acrylic sealer
- Warm-toned LED light
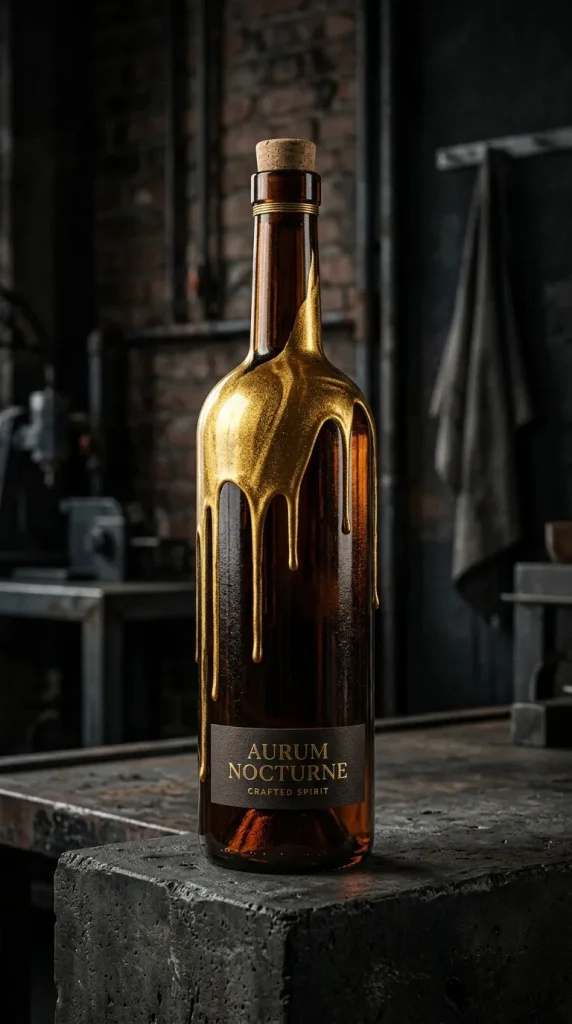
8. Metallic Drip Lantern
For a more modern, industrial, or glam aesthetic, a metallic drip lantern is a fantastic choice. The contrast between the dark bottle and the shimmering drip is visually striking.
How to Make
Turn your bottle upside down. Take a metallic-colored spray paint (gold, copper, or silver) and spray a heavy concentration at the base, allowing the paint to drip down the sides of the bottle in thick, uneven lines. You want the drips to look organic and spontaneous. Keep the upper part of the bottle relatively clear so the light can escape. Once dry, put a strand of colored fairy lights inside to create a moody, sophisticated look.
Things Needed
- Dark or amber-colored glass bottle
- Metallic spray paint
- Colored fairy lights (purple or blue work well)
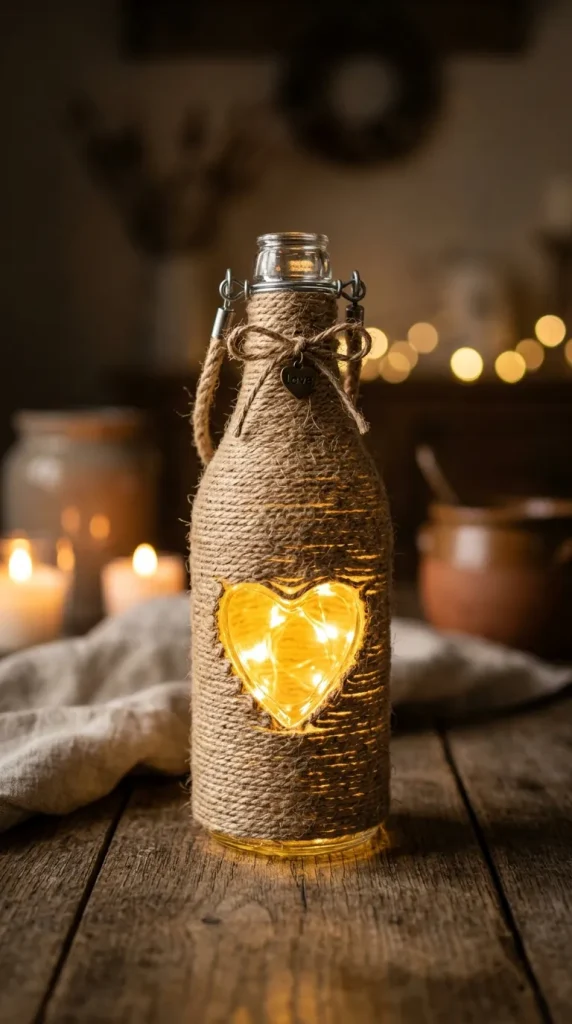
9. Twine-Wrapped Silhouette Lantern
Create a “negative space” design using twine. This is a very rustic and clever technique that leaves a clear shape on the bottle while the rest is covered in texture.
How to Make
Take a piece of electrical tape and cut out a shape—like a heart, a star, or an anchor. Stick it onto the bottle. Begin wrapping jute twine tightly around the entire bottle, starting at the bottom and working up, covering the tape as you go. Once the bottle is fully wrapped, carefully peel off the tape, revealing the clear shape. When you put a light inside, the shape will glow brightly against the darker, wrapped background.
Things Needed
- Glass bottle
- Electrical tape
- Jute twine
- Hot glue (to secure the twine)
- Bright LED tea light
10. Vintage Lace Sleeve Lantern
For a romantic, wedding-inspired look, wrap your bottle in a sleeve of vintage or thrifted lace. This is incredibly quick to assemble and adds a soft, Victorian elegance to your home decor.
How to Make
Measure the height and circumference of your bottle. Find a piece of lace fabric that fits these dimensions. Wrap the lace around the bottle and secure it at the back with a few dabs of hot glue. For a more polished look, add a thin ribbon bow at the neck of the bottle. Place a set of warm, yellow-toned fairy lights inside to create a soft, dim glow that filters beautifully through the intricate patterns of the lace.
Things Needed
- Glass bottle
- Vintage or thrifted lace fabric
- Hot glue
- Ribbon (optional)
- Warm-toned fairy lights

Conclusion
DIY bottle lanterns are the ultimate demonstration of how simple, everyday objects can be transformed into stunning pieces of functional art. By choosing one of these ten methods—whether you prefer the organic beauty of pressed flowers, the modern edge of metallic drips, or the bohemian texture of macramé—you can effortlessly tailor your lighting to suit your unique style. These projects are not only budget-friendly but also offer a wonderful way to practice your creativity while repurposing materials that might otherwise end up in the trash. The best part is that you can easily update these lanterns for different seasons or occasions. Don’t be afraid to mix and match techniques, experiment with different colors of LED lights, or cluster your finished lanterns together for a more dramatic display. Your journey to a warmer, more ambient home starts with a single bottle and a little bit of light.