Spring is the perfect time for daycare crafting! As the weather warms up, it’s a wonderful opportunity to teach toddlers and preschoolers about growth, colors, and nature. In 2026, daycare educators are focusing on “Process Art”—where the joy comes from the squishy, messy experience of making, rather than just the final product.
In this guide, we are exploring 10 Spring Daycare Crafts Ideas that are easy to prep, safe for tiny hands, and look adorable on a classroom bulletin board. Let’s get ready to welcome the sunshine!
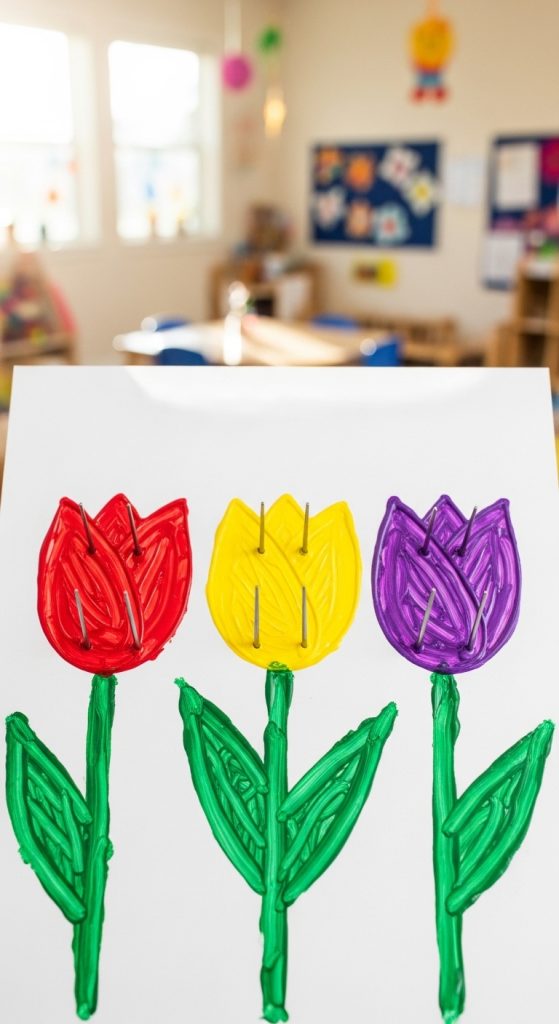
1. Fork-Painted Bright Tulips
Forget the traditional paintbrushes! Using a plastic fork is a fantastic sensory experience for 2 to 4-year-olds. The tines of the fork create the perfect petal texture for a field of tulips.
- Materials: Plastic forks, washable paint (red, yellow, purple), green construction paper.
- Steps:
- Dip the back of the fork into a plate of paint.
- Press it firmly onto the paper to make the flower head.
- Use a finger or a green marker to draw the stem and a leaf.
Pro Tip: Use “primary colors” and show the kids how mixing a little red and yellow on their fork makes an orange tulip!
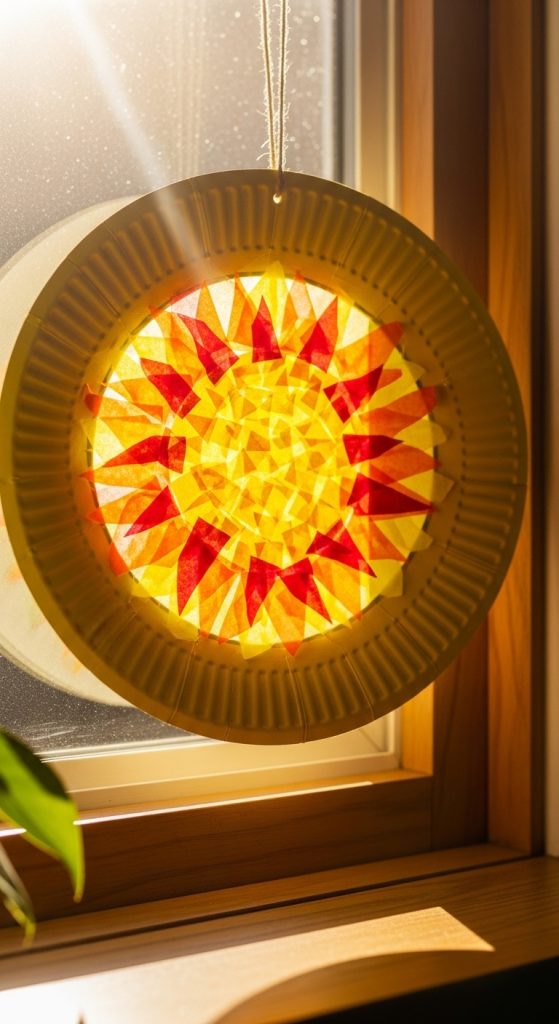
2. Paper Plate “Happy Sun” Suncatchers
Brighten up the daycare windows with these glowing suns. This craft helps kids practice their “pincer grasp” by picking up small pieces of tissue paper.
- Materials: Paper plates (center cut out), clear contact paper, yellow tissue paper squares.
- Steps:
- Tape a piece of contact paper over the hole in the plate (sticky side out).
- Let the children press yellow and orange tissue paper onto the sticky center.
- Tape them to the window and watch the room turn golden.
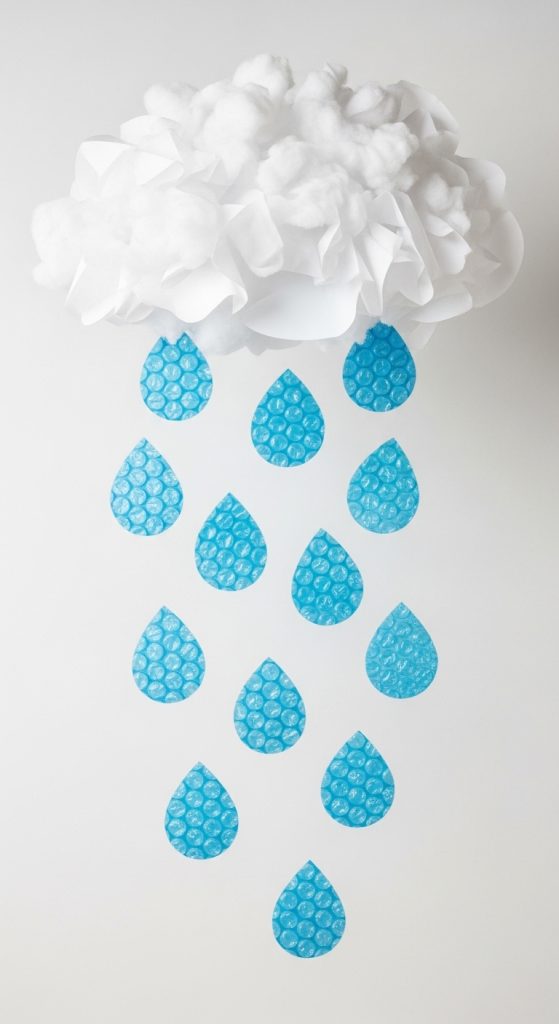
3. Bubble Wrap “Rainy Day” Clouds
Since “April showers bring May flowers,” this craft is a great way to talk about the weather. Bubble wrap creates a cool “raindrop” texture that kids find fascinating.
- Materials: Bubble wrap, blue paint, white paper cut into a cloud shape.
- Steps:
- Paint the “bumpy” side of the bubble wrap blue.
- Press the white cloud paper onto the bubble wrap like a stamp.
- Peel it back to see the bubbly rain pattern.
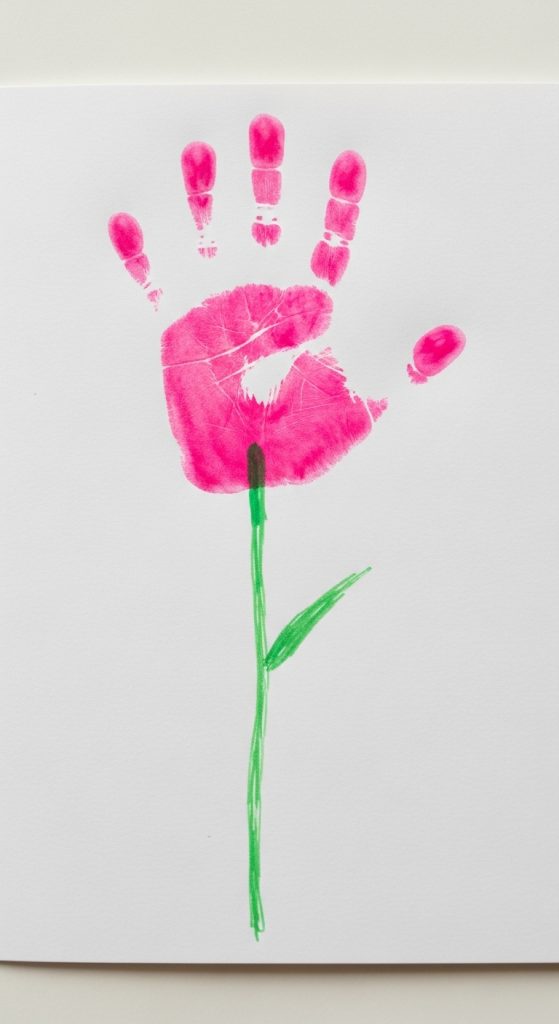
4. Handprint “Growing” Garden
This is a classic “keepsake” craft. By using the child’s hand as the flower, parents get a precious memory of how small their hands were in the spring of 2026.
- Materials: Non-toxic washable paint, white cardstock, green markers.
- Steps:
- Paint the child’s palm and fingers their favorite bright color.
- Press the hand firmly onto the paper.
- Once dry, draw a green stem “growing” down from the palm.
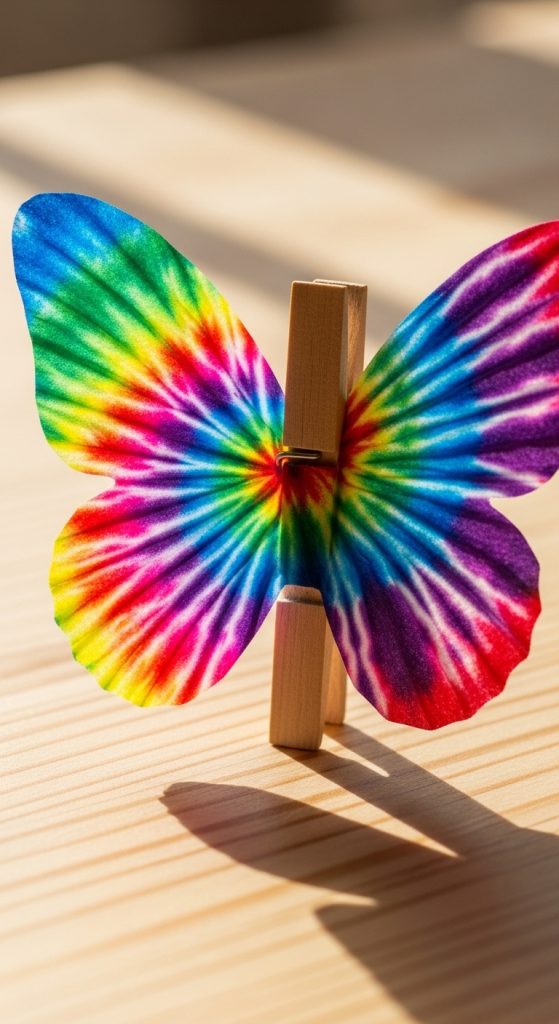
5. Coffee Filter Tie-Dye Butterflies
This craft feels like magic to a toddler. Watching the colors bleed and move across the filter is a great science and art lesson rolled into one.
- Materials: Coffee filters, washable markers, spray bottle with water, clothespins.
- Steps:
- Let the kids scribble all over the filter with markers.
- Mist the filter with water and watch the colors blend.
- Once dry, pinch the middle with a clothespin to make the body.
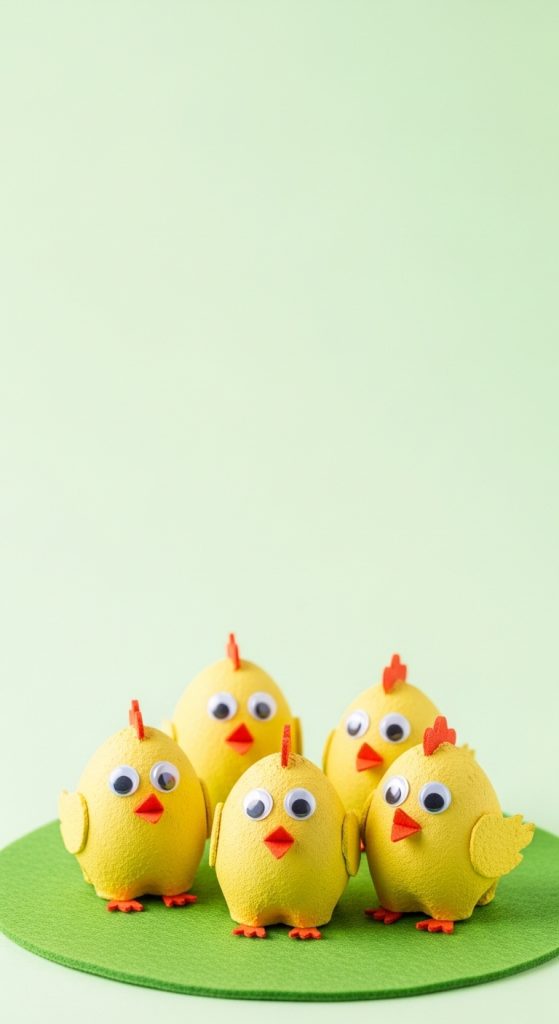
6. Egg Carton “Spring Chicks”
Don’t toss those cardboard egg cartons! They are the perfect size for making a tiny, chirping friend.
- Materials: Cardboard egg cartons (cut into single cups), yellow paint, orange paper (for the beak), googly eyes.
- Steps:
- Paint the egg cup yellow.
- Glue on two googly eyes and a tiny orange triangle beak.
- Add a yellow feather on each side for wings.
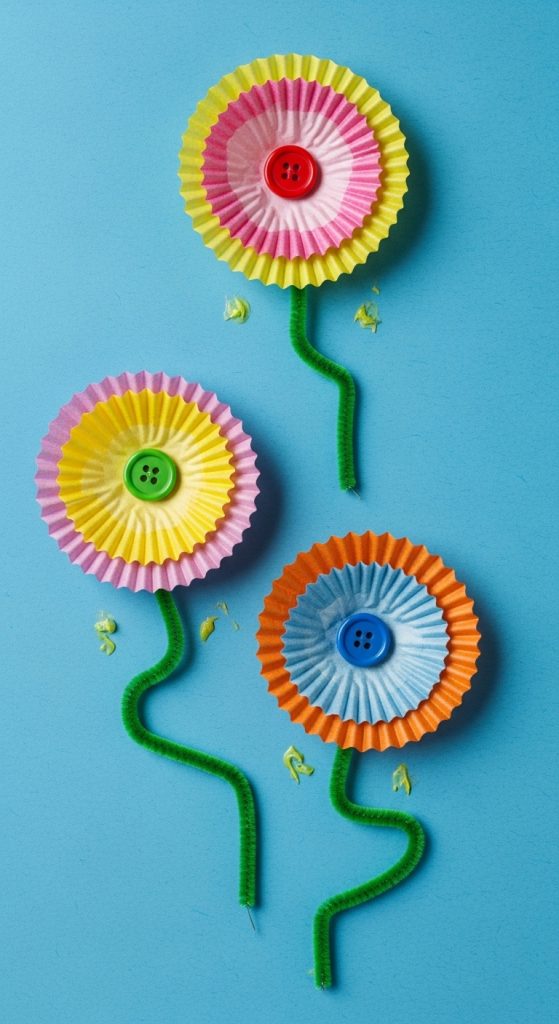
7. Cupcake Liner Flowers
Cupcake liners come in so many pretty spring colors and patterns. They are pre-shaped like flowers, making this a very high-success craft for younger toddlers.
- Materials: Colorful cupcake liners, glue, large buttons (for the center), green pipe cleaners.
- Steps:
- Flatten the cupcake liner and glue it to a piece of paper.
- Glue a large, bright button in the very center.
- Glue a green pipe cleaner down for a fuzzy stem.
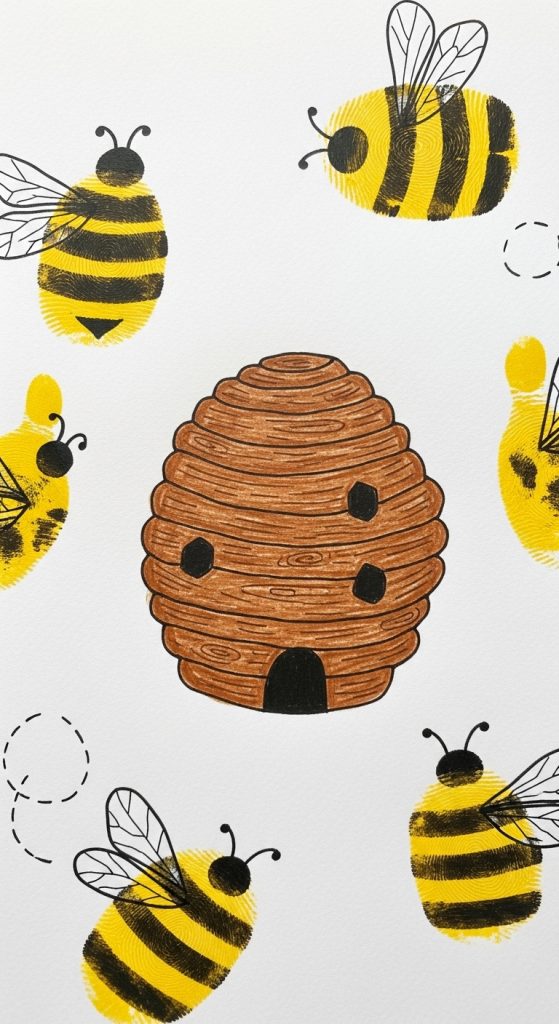
8. Fingerprint “Busy Bees”
This is a great fine-motor activity. Kids love using their own fingerprints to create a swarm of bees around a hive.
- Materials: Yellow paint, white paper, black markers.
- Steps:
- Dip a thumb or finger in yellow paint and make “bee bodies” all over the page.
- Once dry, use a marker to draw black stripes, wings, and a stinger.
- Draw a simple “beehive” in the center of the page.
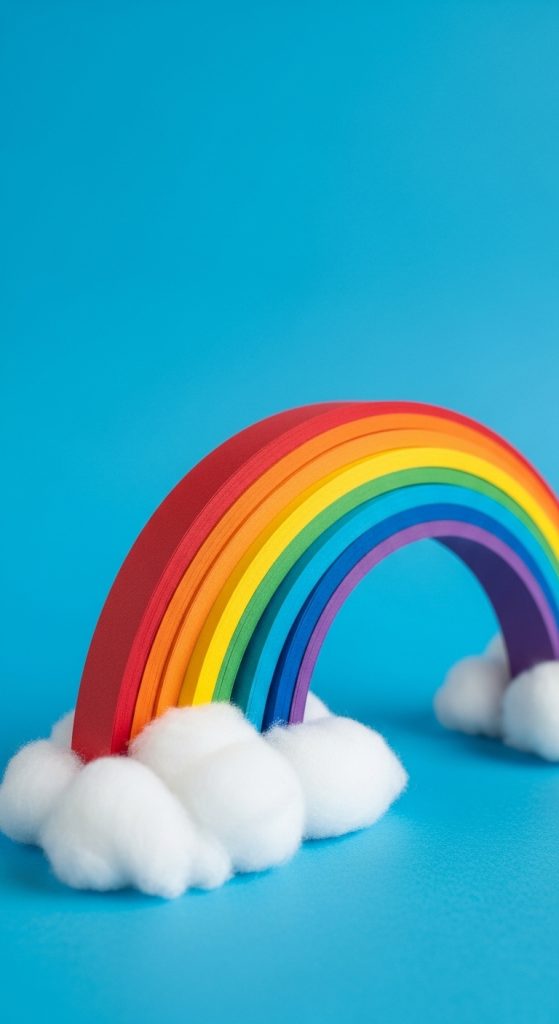
9. Paper Strip Rainbows
This craft helps older daycare kids (4-5 year olds) practice their “looping” and gluing skills. It creates a beautiful 3D effect that looks great hanging from the ceiling.
- Materials: Strips of construction paper (rainbow colors), cotton balls, glue.
- Steps:
- Glue the ends of the colored strips to a blue piece of paper in an arch.
- Glue fluffy cotton ball “clouds” at both ends of the rainbow to hide the glue spots.
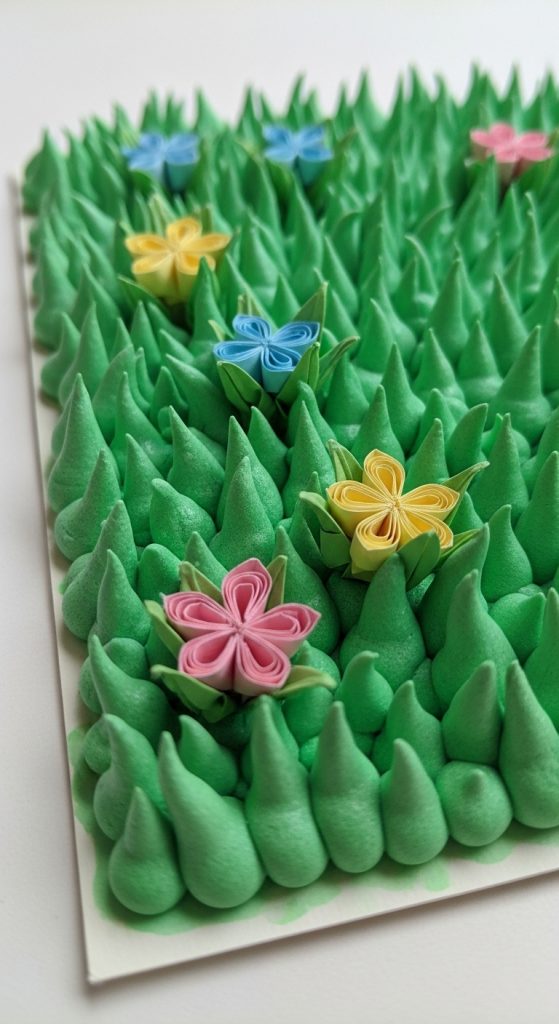
10. Textured “Puffy” Spring Grass
Make the grass come alive! Adding shaving cream to glue creates a “puffy” paint that stays 3D and squishy when it dries.
- Materials: White glue, shaving cream, green food coloring or paint.
- Steps:
- Mix equal parts glue and shaving cream with green paint.
- Let the kids “paint” the grass at the bottom of their paper with their fingers or a thick brush.
- It will dry like soft, puffy moss!
Tips for Daycare Crafting Success
- Tape the Paper: Toddlers use a lot of “force.” Taping their paper to the table prevents it from sliding onto the floor mid-masterpiece.
- The “Dab” Rule: Teach the kids “just a dab of glue will do!” to prevent giant puddles that take days to dry.
- Wear Smocks: Spring colors are beautiful, but they aren’t always “washable” on every fabric. Old oversized T-shirts make the best smocks.

