Spring is the season of growth, making it the perfect time to capture how small your little ones are with handprint art. In 2026, the trend for children’s crafts is moving toward “Keepsake Storytelling,” where handprints aren’t just random shapes, but parts of a larger, vibrant spring scene. These projects are wonderful for decorating the home or sending to grandparents as a “growing” surprise.
In this guide, we are exploring 10 Spring Handprint Crafts Ideas that turn tiny palms into everything from buzzing bees to blooming lilies. Let’s get messy and make some memories!
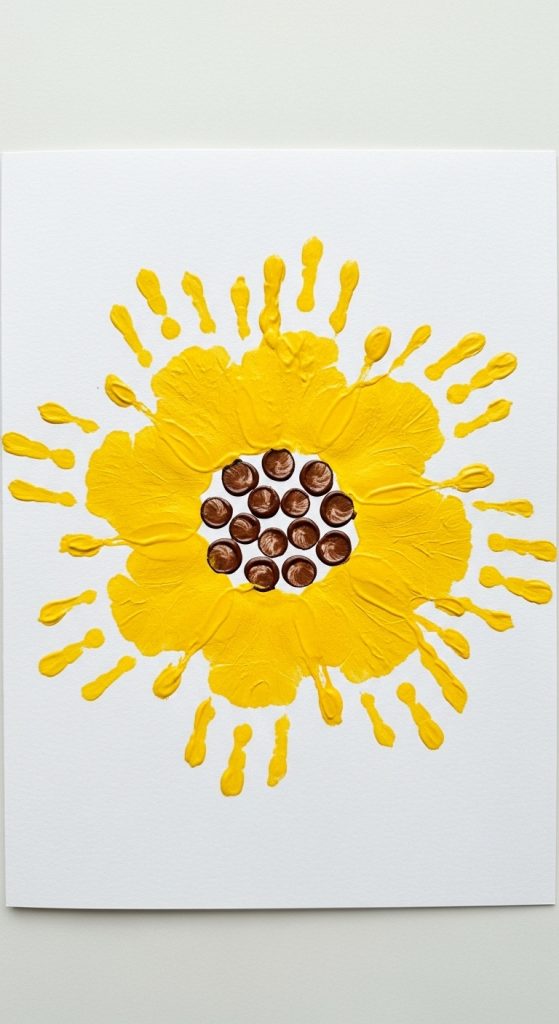
1. The “Sun-Kissed” Handprint Sunflower
This is a bold, bright craft that makes a beautiful centerpiece for a playroom. By layering multiple handprints in a circle, you create the lush, thick petals of a giant sunflower.
- Materials: Yellow and brown non-toxic paint, white cardstock, green markers.
- Steps:
- Paint the child’s palm and fingers bright yellow.
- Press the hand in a circular pattern, with the palms facing the center and fingers pointing out.
- Once the “petals” are dry, have the child use their thumb to make brown “seeds” in the center circle.
- Pro Tip: Use two different shades of yellow for the handprints to give the sunflower more depth and a realistic look.
2. Handprint “Lil’ Sprout” Garden
Celebrate the “growing” theme by turning a green handprint into a sprout popping out of the dirt. This is a great way to teach kids about how plants start from seeds.
- Materials: Green and brown paint, white paper.
- Steps:
- Paint the hand green and press it upside down (fingers pointing down) on the top half of the paper.
- Paint a brown “mound” of dirt at the bottom.
- Connect the hand to the dirt with a green stem. The fingers become the leaves of the new sprout!

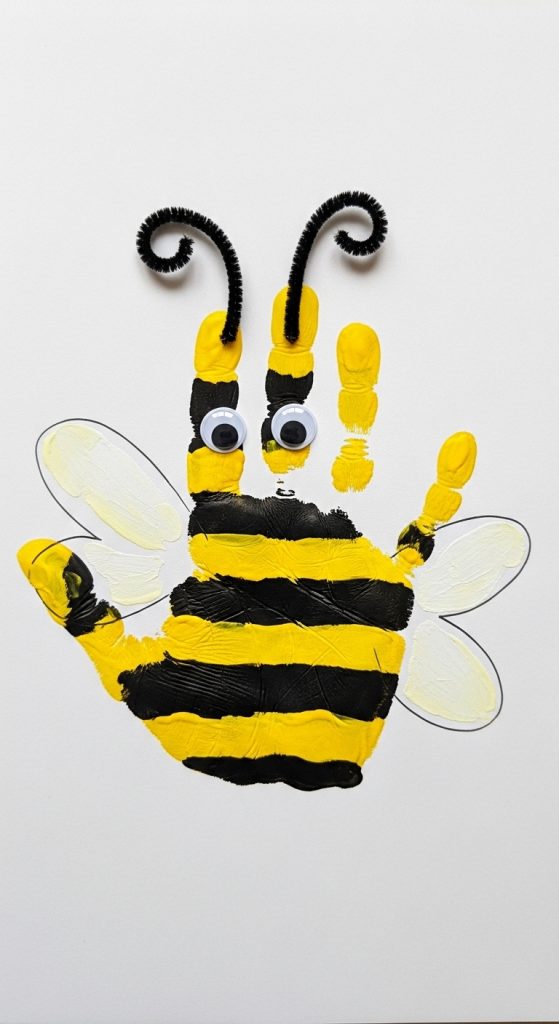
3. The “Busy Bee” Handprint Hive
This craft is perfect for toddlers. The handprint becomes the body of a large, friendly bumblebee that “flies” across the page.
- Materials: Yellow and black paint, white paper, googly eyes.
- Steps:
- Paint the palm yellow and the fingers black.
- Press the hand horizontally on the paper.
- Once dry, glue a googly eye on the “thumb” (the bee’s head) and draw a small stinger on the pinky side.
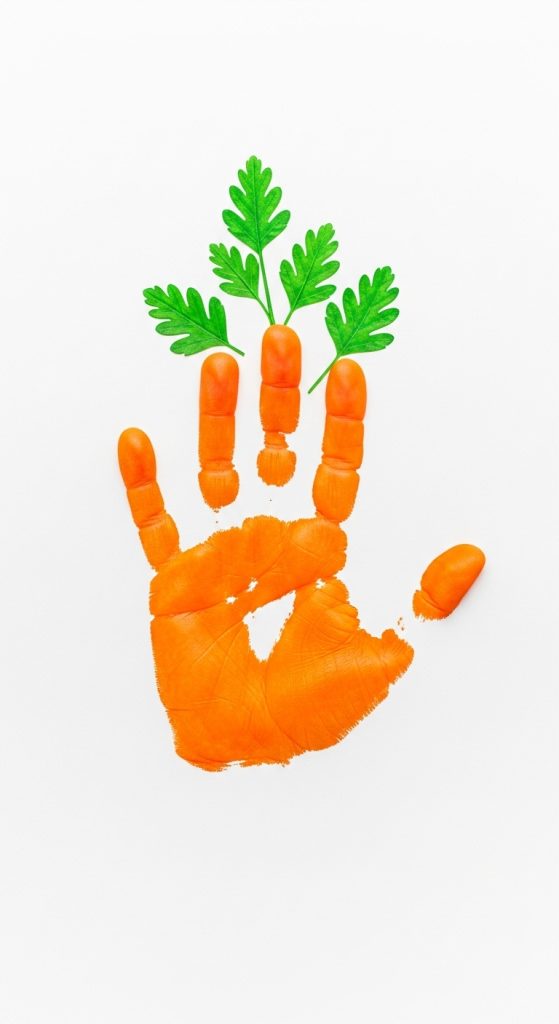
4. Handprint “Carrot Patch”
Since carrots are a spring staple, this craft is both festive and adorable. It looks great on a kitchen fridge or as a cover for a spring greeting card.
- Materials: Orange and green paint, white paper.
- Steps:
- Paint the hand orange and the fingers green.
- Press the hand firmly on the paper with the fingers at the top.
- The orange palm becomes the carrot, and the green fingers become the leafy tops!
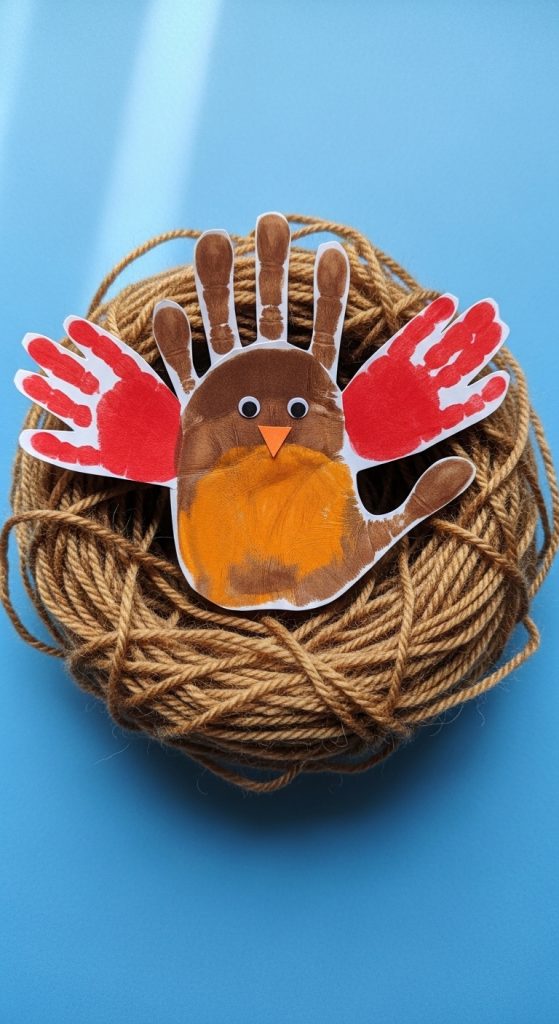
5. The “Spring Robin” Handprint
Nothing says spring like the return of the birds. This craft uses the handprint to create the wings of a cheerful robin sitting in its nest.
- Materials: Brown and red paint, blue paper, brown yarn (for the nest).
- Steps:
- Paint the palm red (the robin’s breast) and the fingers brown (the wings).
- Press the hand sideways on the blue paper.
- Glue scraps of brown yarn at the bottom of the handprint to create a textured nest.
6. Handprint Butterfly Wings
This is a beautiful symmetrical craft. By using both hands, you create a butterfly with a “mirror image” of colorful wings.
- Materials: Two or more colors of bright paint, white cardstock, black markers.
- Steps:
- Paint the left hand one color and the right hand another.
- Press them side-by-side with the palms touching in the middle.
- Draw a black body and antennae in the space where the palms meet.

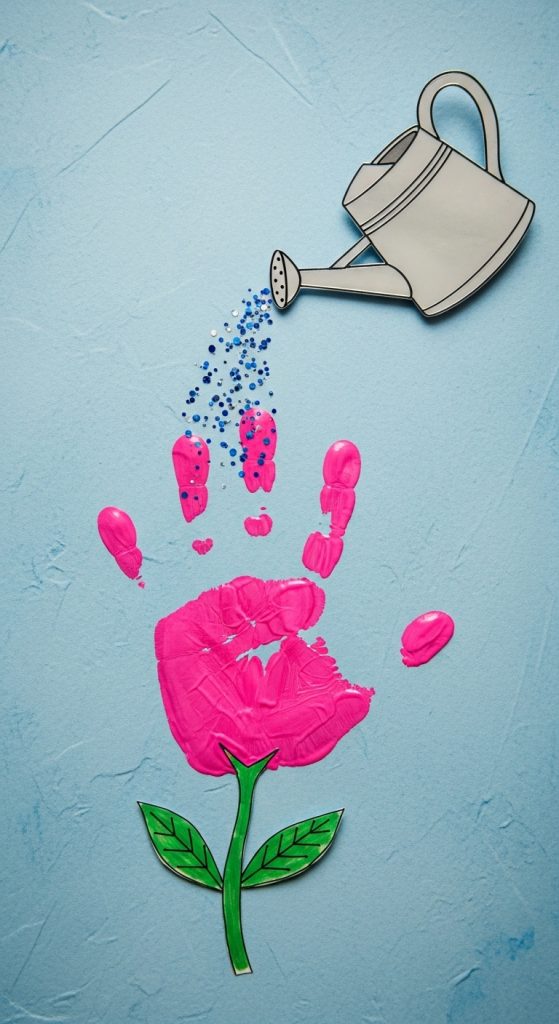
7. The “Watering Can” Handprint Flower
This craft tells a story of care. The handprint acts as the flower being “watered” by a paper-cutout watering can.
- Materials: Pink or purple paint, construction paper, glue.
- Steps:
- Make a bright handprint at the top of the page (the flower).
- Cut a simple watering can shape out of silver or blue paper.
- Glue the can at an angle so it looks like it is pouring water onto the handprint “flower.”
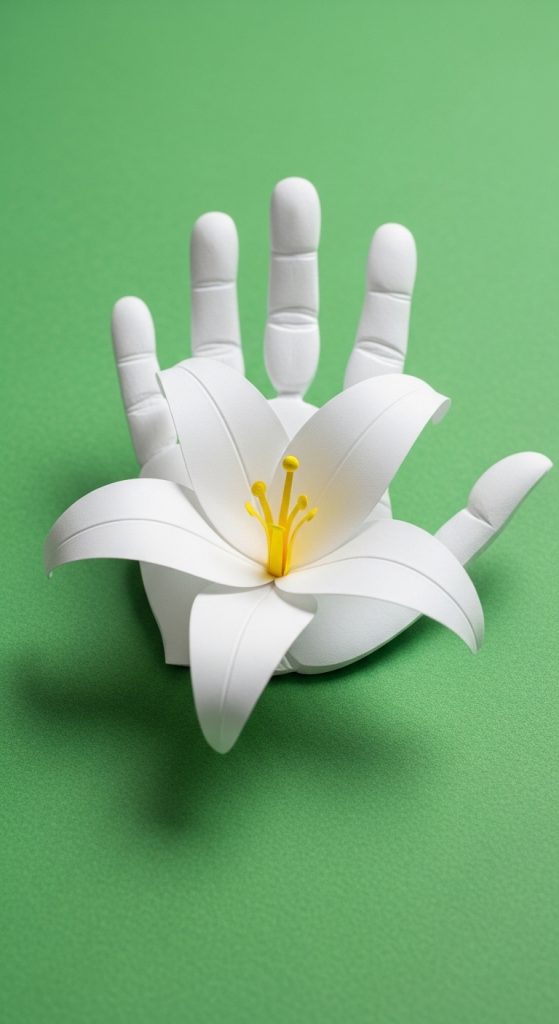
8. Handprint “Easter Lily”
The lily is a classic symbol of spring. This craft uses the handprint to create the elegant, white petals of the flower.
- Materials: White paint, green and yellow construction paper.
- Steps:
- Make a white handprint on green paper.
- Cut out the handprint once dry.
- Roll the handprint into a cone shape (fingers curling outward) and tuck a strip of yellow paper (the stamen) inside.
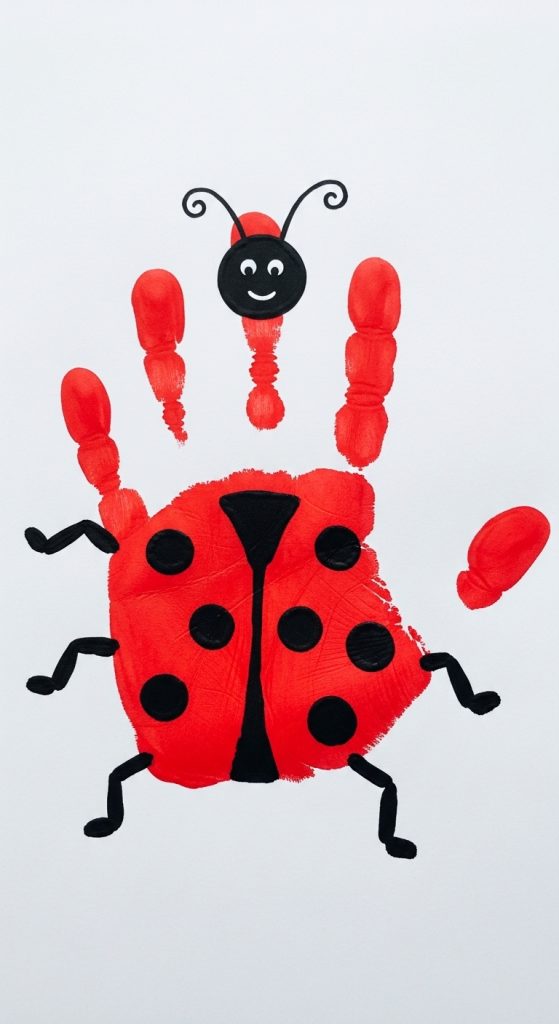
9. The “Lucky Ladybug” Handprint
Ladybugs are a sign of good luck and a healthy spring garden. This craft is simple, bold, and very popular with preschoolers.
- Materials: Red and black paint, white paper.
- Steps:
- Paint the entire hand red and press it on the paper.
- Once dry, use a fingertip to dip in black paint and add “spots” all over the red palm and fingers.
- Draw a small black semi-circle at the base of the palm for the head.
10. Handprint “Rainbow Clouds”
This is a high-color craft that brightens up any room. The handprint becomes the fluffy cloud that holds up a beautiful spring rainbow.
- Materials: White paint, strips of rainbow-colored paper, glue.
- Steps:
- Make a white handprint (the cloud) at the top of a blue piece of paper.
- Glue strips of colored paper (red, orange, yellow, green, blue, purple) coming down from the fingers.
- It looks like a rainbow is “pouring” out of the cloud!

Tips for Handprint Crafting Success
- Cardstock is King: Regular paper often wrinkles when it gets wet with paint. Use heavy cardstock to ensure your keepsakes last for years.
- Wet Wipes Ready: Have a pack of baby wipes or a wet washcloth immediately on hand. As soon as the print is made, wipe the hand to prevent “colorful” footprints all over your house!
- The “Squish” Factor: For the best prints, place the paper on a flat, hard surface and gently press each of the child’s fingers down individually to make sure the paint transfers evenly.